


Today is day 4 of Fall DIY week, and it might be the simplest project yet.
It's the modge podge pumpkin.
If you haven't modge podge before, don't be intimidated. It's simple, sloppy, and can be be used in so many ways.
Today we are going to make vintage paper modge podge pumpkins. Say that 10x's fast.
Start with ripping some book pages into 1' strips.

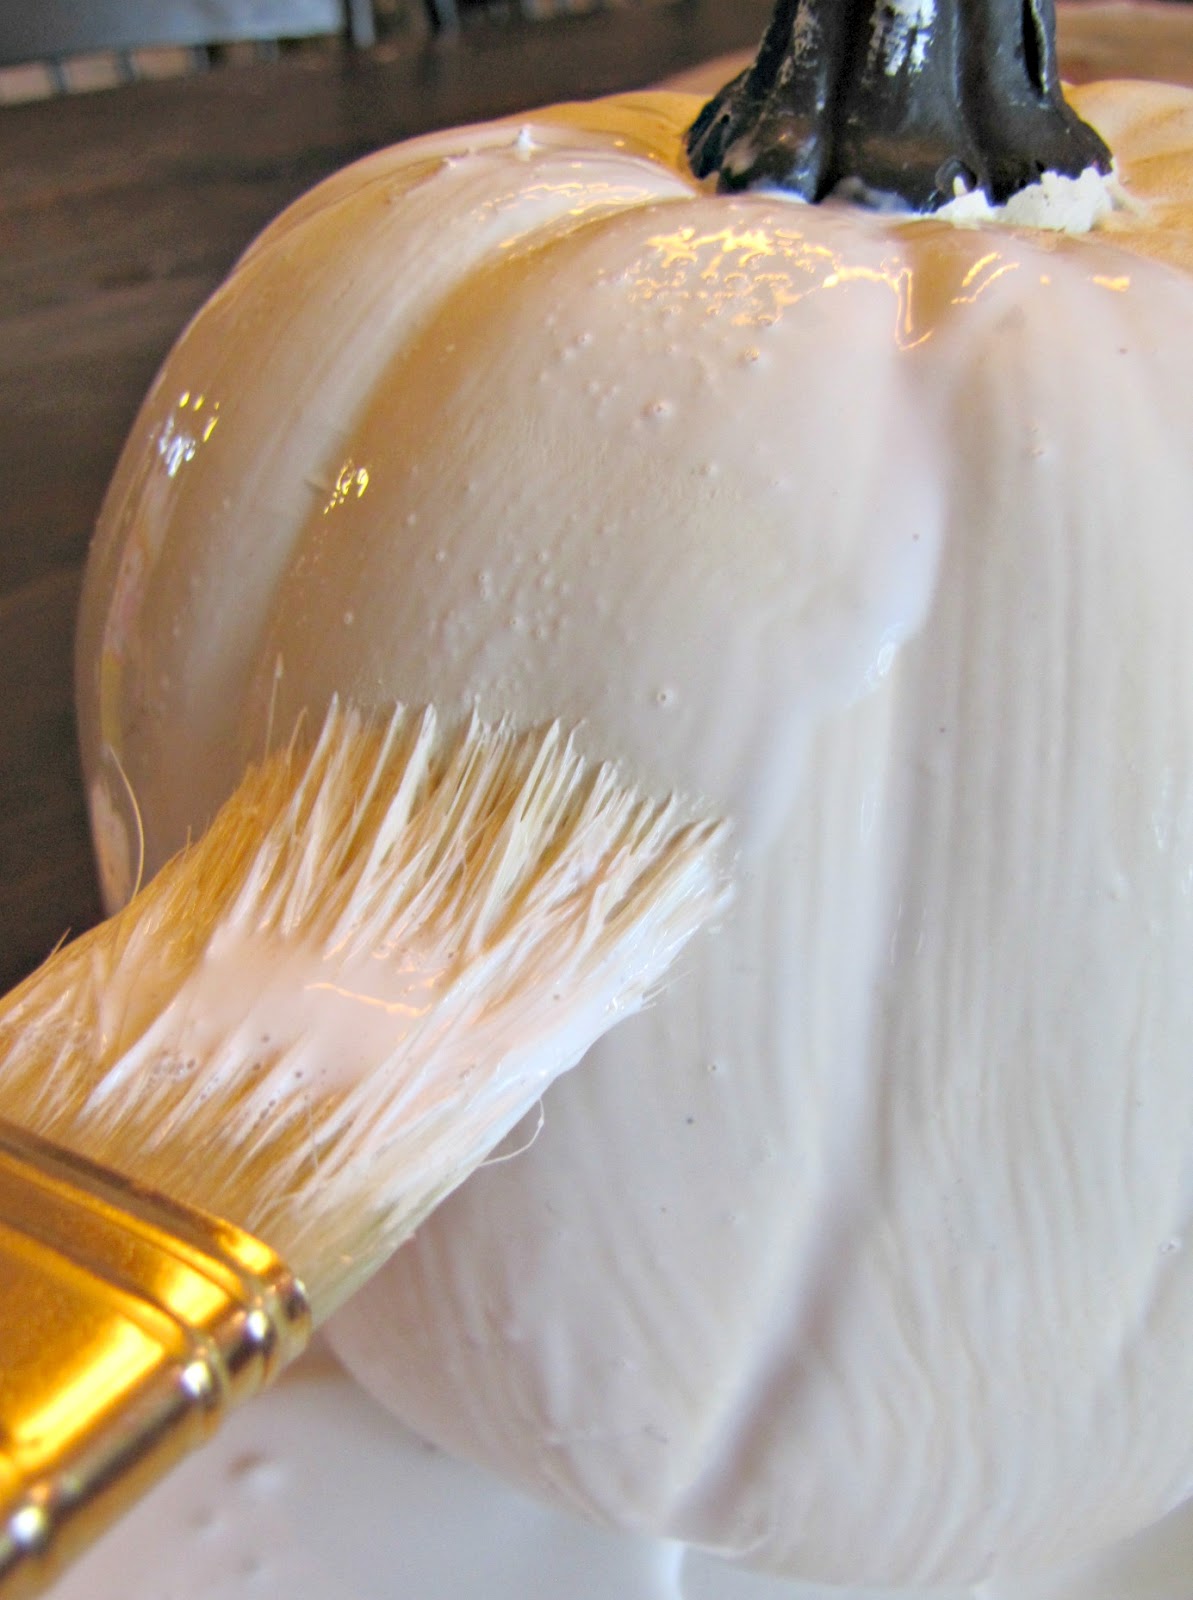
Apply the modge podge liberally to one side of the pumpkin with the cheapest brush you own.
Overlap the pages and add modge podge over top of the paper too.

Let that half of the pumpkin dry before you start work on the other side.
Don't worry about crinkles and bubbles. It will only add to the homemade look.
I used the modge podge jar to hold the pumpkin while it dried.

A little glitter would be fun too, but I'm out of that at the moment.

Gather a few pinecones from your yard and ta-da. Instant charm.

I think I'd like a little cluster of these cuties. So, I'll be make more today.
Happy Fall!
Pin It Now!


i really need to try this!
ReplyDelete